Bottle-to-Boot Game

bottlephoto1.jpg

Discipline: Teambuilding
Age Range:
7+
Estimated Time: 10+ minutes
What You Need: Two chairs, two shoes, a minimum of five people so round up your entire family; one water bottle (or something strong enough to have shoes thrown at it without damage)

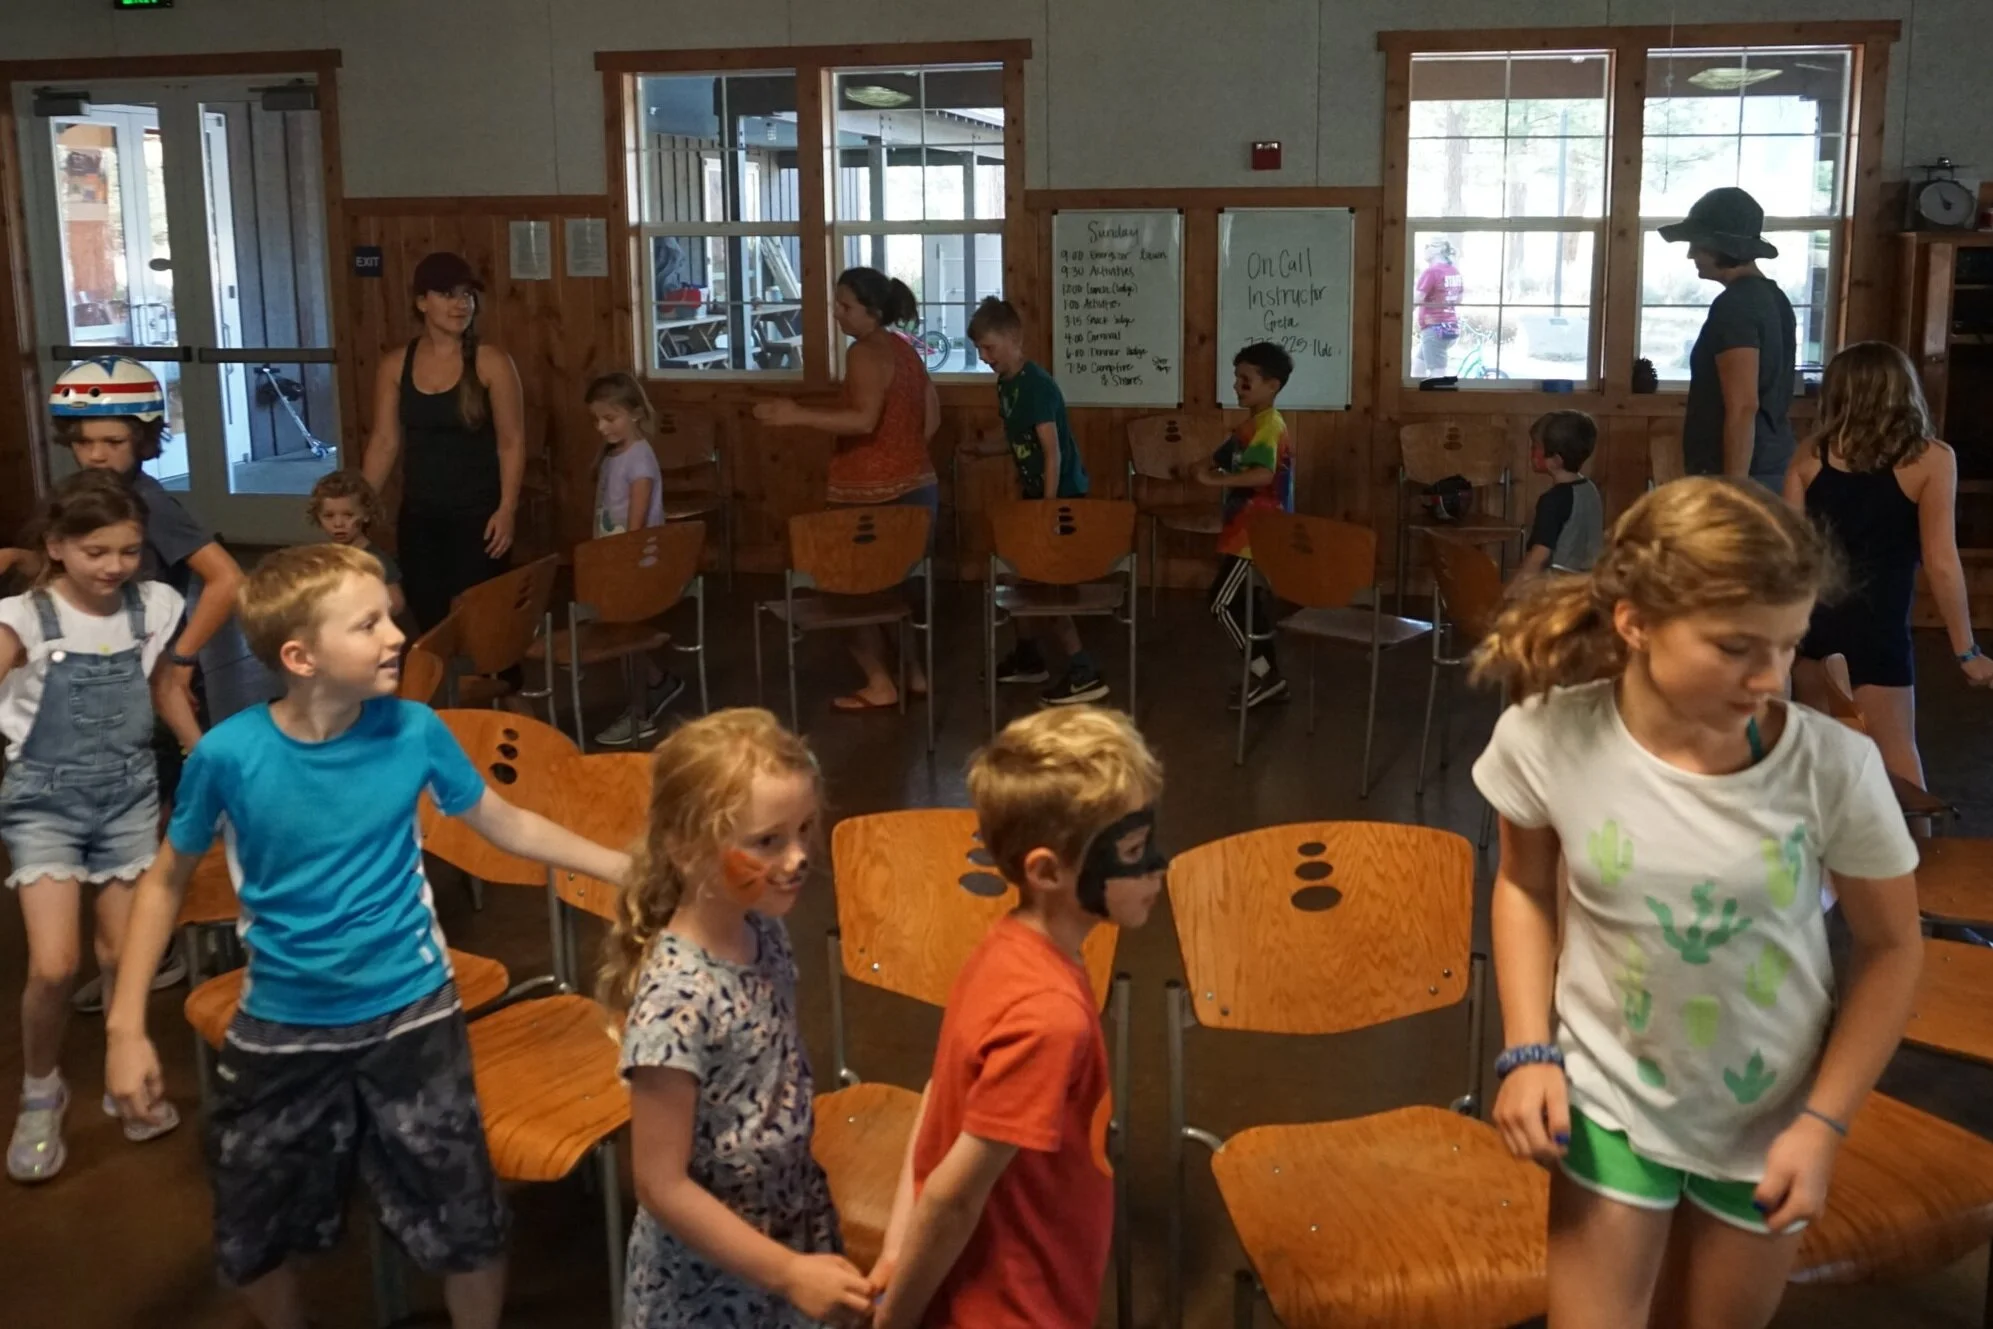
Introduction: This is an active game and can be played outdoors or in a large indoor space such as a basement or garage area.

bottlephoto2.jpg

Instructions:
1. Place two chairs facing each other, about 7-to-10-feet apart. Place the water bottle in the center — between the two chairs — with one shoe on either side of the bottle.


bottlephoto3.jpg

2. Choose one person to be the “facilitator.” The facilitator’s job is to call out numbers to both teams once the game begins and make the official call on who wins the points on each round the game. They will also ensure that both teams are following the rules throughout the game. 

3. Separate everyone else into two equal teams and have each person count off, “one” through however many people are playing the game. Teams should stand on opposite sides facing each other, in the order of their numbers. For example, Team A: 1,2,3,4; Team B: 1,2,3,4.


4. The facilitator will yell out a single number and whoever the number pertains to will run to grab a shoe, run back to sit in a chair (either chair is open for the taking). Then, the two players try to knock the water bottle down remaining seated in their chair.

bottlephoto4.jpg
bottlephoto6.jpg

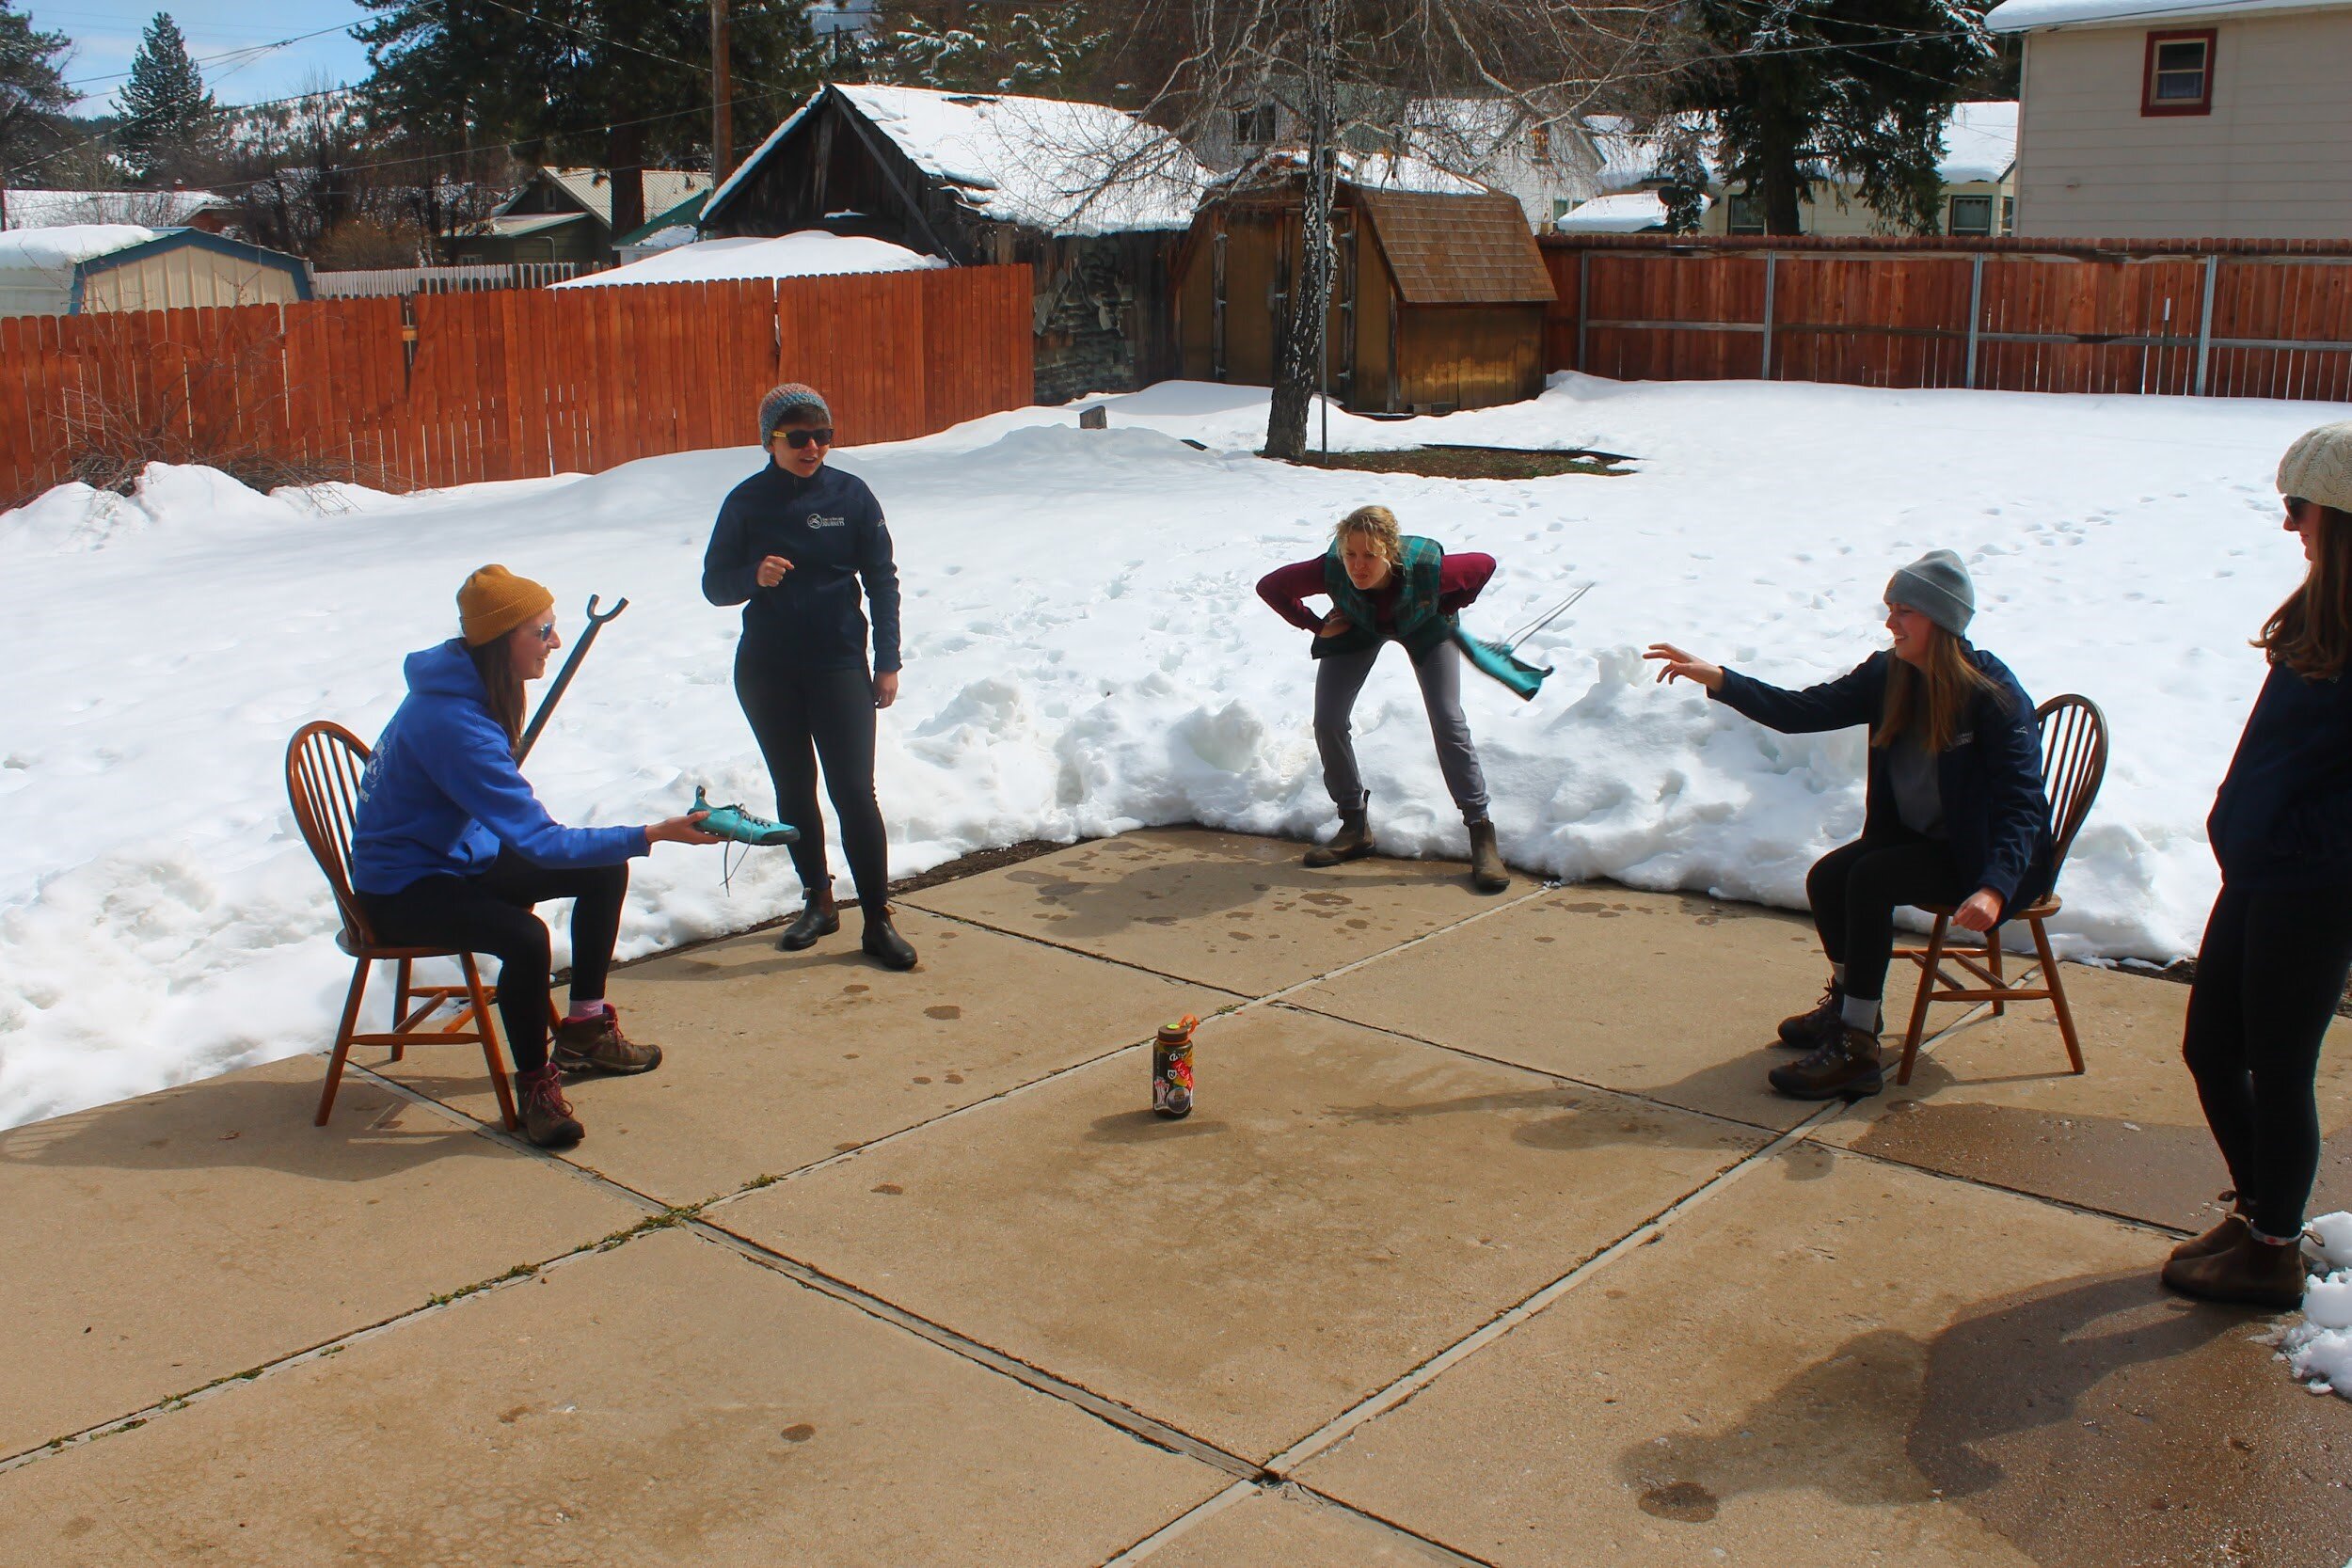
5. The first team to knock the water bottle down ears a point!

bottlephoto7.jpg
bottlephoto8.jpg

6. After a few rounds, the facilitator can combine players. The players must combine elbows before grabbing the shoe. One person must sit in the chair while someone kneels next to them. Facilitator announces, “Team A players 1, 2 and 3 and Team B plays 1, 2 and 3, grab the elbows of each other and work together to grab the water bottle, return to the chair and attempt to throw the shoe at the bottle, all while remaining locked together at the elbow.”

bottlephoto9.jpg
bottlephoto10.jpg

7. If people break their bond with their teammates, they must sit in the chair and wait five seconds until they can try again. The winner is the first team that scores ten points.


Rules:

  1. Your team can only have one shoe in your hand at a time. However, it does not matter which shoe.

  2. Your team must be sitting in a chair to throw the shoe at the water bottle. However, it does not matter which chair.

  3. Your team cannot block the other team from hitting the bottle.

  4. A round is not over until the water bottle is knocked over by one of the teams.

How to Empty an Egg Without Cracking It

Discipline: Physical Science
Age Range:
8+ (adult supervision required)
Estimated Time: 10 minutes for activity; 60 minutes of drying time for the eggs
What You Need: a clean bowl; needle or thumbtack; toothpick or straightened paperclip; clear tape or masking tape; raw eggs; a towel or paper towels; soap and water

snjegg.png

Eggs are one of nature’s most ingenious inventions! Chicken eggshells are tough yet delicate, and surprisingly, can stay whole even if you pierce them with a needle! If you’ve ever wished your decorated eggs aren’t cracked open and turned into deviled eggs, here’s a fun way to make them last longer.

eggpic2.png

Instructions:

  1. Take out eggs from the refrigerator and let them sit until they are room temperature.

  2. Place a small piece of tape on the top (the pointy thick end) of the egg and the bottom (the fatter end) of the egg.

  3. Using a needle, poke a hole in the top of the egg through the tape. Hold the egg over the bowl to catch any of the liquid that drips out; do the same with the bottom of the egg. Wiggle the needle around in the egg to make the hole in the bottom bigger than the hole on the top.

  4. Take the paperclip or toothpick and stick it in the hole in the bottom of the egg. Gently swirl the end of the paperclip inside the egg, being careful not to damage the hole. You can also do this with a needle.

  5. Flip the egg over and blow air into the top of the egg, letting the contents of the egg drip into the bowl from the bottom hole. Rinse the eggshell with warm soapy water. Be sure to clean the inside and outside of the egg. Leave your egg pointy side-up to drip dry.

Once the egg is completely dry, you can start decorating!

Eggs are one of nature’s most ingenious inventions! Chicken eggshells are tough yet delicate, and surprisingly, can stay whole even if you pierce them with a needle! If you’ve ever wished your decorated eggs aren’t cracked open and turned into deviled eggs, here’s a fun way to make them last longer.


Helpful Hints
Egg shells can be very delicate. Putting a small amount of tape in the areas you intend on poking the holes in will lessen the chances of the egg cracking. When blowing into the top of the egg, if you notice none of the liquid is coming out the bottom of the egg, stop and try to break up the yolk inside the egg. If you blow too hard into the egg while nothing is coming out the pressure may make the egg explode.


Reflection Questions

  1. Why did you swirl the paperclip inside the egg?

  2. What do you think would happen if you had not broken down the egg yolk before attempting to blow it out of the shell?


Habitat Scavenger Hunt

Discipline: Life Science
Age Range:
7-12
Estimated Time: 20 minutes
What You Need: Habitat Scavenger Hunt activity sheet and an area outdoors

33497535711_41fb8d4ccd_k.jpg

Instructions: This activity focuses on finding habitats in your area.

Ask: “Do you know what a habitat is?” 

A Habitat is the nature home of a plant or animal. 

Ask: “Did you know there are four parts of a habitat. Can you guess what they are? What four things do all animals or plants, need to survive?”

The four parts of a habitat are food, water, shelter, and space.

Ask: “Do you think there could be habitats outside?”

Go outside with your Habitat Scavenger Hunt activity sheet and see if we can find all of the different parts of a habitat. Draw or write down all of the different examples you see in the appropriate box. You have a green box on your activity sheet for the examples of food that you find, a blue box for the examples of water, a red box for space, and a black box for shelter.

Remember to use your observation skills to help you find examples of habitats. What do you feel, see, hear, or smell? What animals could use the things you found?


New Words
Observation:
Making an observation means to learn and notice more about the world around us using our five senses.
Habitat: the four things an organism needs to survive; food, water, shelter, and space.  

Helpful Hints
Adults, if you are doing this activity with your child(ren), ask them the questions and have a discussion before looking for the parts of a habitat.

Game of Things, a New Twist on Family Game Night

Discipline: Social Emotional Learning
Age Range:
All ages
Estimated Time: At least 5 minutes to no limit
What You Need: Paper and pens

DSC03647.jpg

Introduction: If you’ve ever been to Sierra Nevada Journey’s Grizzly Creek Ranch, you know we love to play games! They’re a fun way for families to bond. Game of Things is a great way to get the whole family together for a night of laughs, all while getting to know each other a little better. This game is best played with at least four people, but there is no limit to the number of players.

Instructions: This game starts with one person creating a prompt. For example, what are three things you would bring with you if you had to live on an island for a week? All players, including the person who created the prompt, will then write their answer and their name on a small piece of paper. The person who created the prompt will then collect all the pieces of paper and read them to the whole group.

Once all answers have been read aloud, the person to the left of the reader will attempt to match one of the answers with the person who wrote it. If they are correct, they will hold on to the piece of paper and try to match another answer with a player. If they are incorrect, the next player in the circle will attempt to match an answer to a player. This will continue until all of the pieces of paper have been matched with who wrote them.

The only player who does not guess is the person who created the prompt and read the answers aloud. Once all of the answers have been matched with a player, a new player will then create a prompt and the process begins again.

DSC03821.jpg

Color A Watershed and Predict Which Way the Water Will Flow

Discipline: Environmental Science and Watershed Science
Age Range: 7-12
Estimated Time: 10-20 minutes
What You Need: A blue washable marker; a sheet of parchment paper or aluminum foil (roughly 10” x 10”); and a spray bottle filled with water

watershed2.jpg

Instructions:

  1. Crumple your parchment paper or aluminum foil into a loose ball.

  2. Un-crumple your parchment paper or foil, but don’t smooth out all of the bumps and wrinkles. Lay the paper or foil in front of you on a table or tray. This wrinkly paper or foil represents an area of land. Notice the mountains and valleys.

  3. Imagine that it is about to rain on your area of land. Where do you think the water will flow? Where will it end up? Use your blue washable marker to trace where you think the water will go on your paper or foil.

  4. Let’s make it rain! Make sure your paper or foil is on a surface that can get a little wet (a table with a placemat or a cookie sheet are great options). Hold your spray bottle about 8-to-12 inches above your area of land. Spray the bottle a few times, creating an even mist over the whole area of land. Keep spraying until the water begins to flow.

  5. What did you notice when it rained on your area of land? Did the water go where you predicted it would?

watershed3.png
watershed1.jpg

You have just created a model of a watershed. A watershed is an area of land where all the water drains to a certain place. This even includes water that is underground! Because of gravity, water always flows downhill from high areas to low areas. Everything on that land is also inside the watershed. In fact, you live in a watershed too! All land is divided into watersheds, based on where the water that falls on that place flows and drains.

Click here to find out in which watershed region you live.


NGSS Standards: SEP: Developing & using models; CC: Systems & system models, Patterns, Energy & matter; DCI: ESS 2: Earth’s systems

Tallest Tower Challenge Using Spaghetti

Discipline: Engineering
Age Range: 5+ (with adult supervision)
Estimated Time: 5-20 minutes
What You Need: Uncooked spaghetti; marshmallows or gumdrops; and a tape measure (optional)

tallesttower1.jpg

Instructions: Your goal is to build a freestanding tower out of spaghetti and marshmallows. Your tower cannot be connected to anything else, and cannot lean on anything for support. 

What shapes can you create with your spaghetti and marshmallows? 

What shapes do you think will create the strongest tower? 

Try different designs to see what works best. Once your tower is built and stable you can measure it to see how tall it is. Think about how you can improve your tower and try building it again. 

Challenge Options: 

Set a timer to see if you can build your tower in a certain amount of time. 

Can you build a tower that’s at least 15 inches tall?

Have fun and remember to keep trying!


tallesttower2.jpg
tallesttower3.jpg
tallesttower4.jpg

Community Agreements - Using Google Drawings

Discipline: Team Building and Community Agreements*
Age Range: 10+
Estimated Time: 20-30 minutes
What you need: A computer or tablet with internet access; a Google account (it is free to create one)

digital10.png

*Community agreements are created as a way to establish a mutual understanding or make a set of expectations for all members of a community to abide by. They can be based on many things, such as how to support each community member and how to make everyone feel included. Please see What is a Community Agreement? blog post before starting this project.

Creating a visual community agreement using tools online is a good method for creating a community agreement if you do not have any paper or other crafting materials available.

Instructions:

1. Open your Google Drive and select “New”

digital1.png

2. Select More → Google Drawings

digital2.png

3. For this specific example, we will create a sun with community values as the rays. Feel free to get creative during this step, as there are many other shapes and tools available. To create a shape use: Insert → Shape → Shapes

digital3.png

4. A plus sign should show up once you have selected a shape. Drag this plus sign to create and enlarge your image. You should end up with something like this:

digital4.png

7. You can change the color by selecting your shape and hitting the fill icon. Select whatever color scheme your community likes.

digital5.png

6. To create a center word or idea, try using Word Art or a text box. Pictured below is an example using Word Art: Insert → Word Art → Type out whatever you would like in the box that appears. This could be your family or community name, or it could include the names of everyone within your community. Get creative here!

digital6.png
digital7.png

7. Edit your center word in whatever way your community likes. You can change color or font, just make sure to have the word selected.

tpimage12.jpg

8. You may add in community values wherever you would like as well. For this example, we will add values to the sun rays using text boxes. Click on the T icon (circled below) to create a text box. Drag the plus sign that appears to build the box, and use the dot above the box (circled below) to rotate and fit it inside the sun rays. Type out your community values into the boxes.

digital9.png

9. You can get even more creative than this by exploring more of the Google Drawing functions. Make sure to listen to the people within your community and allow everyone space to contribute. Your finished product may look something like this:


Helpful Hints: Google Drive allows for collaboration by multiple people at the same time. Anyone else with a Google account can be added to your document or drawing by clicking the blue share button in the top right corner. Simply add their emails or share the link provided. Sharing will allow all of you to all work on your community agreement at the same time if you have multiple internet enabled devices.

Try creating a loose plan before getting started so that all community members have an open space to share ideas and contribute values before moving to the visual aspect.

If you have access to a printer, you can print out a copy for each community member to keep. If not, making your document shareable is another good way to distribute the agreement to everyone.

Community Agreements - Using a Coloring Page

Discipline: Team Building and Community Agreements*
Age Range: 10+
Estimated Time: 10-20 minutes
What you need: Coloring page (coloring book or online page that you print out); markers, colored pencils or paint

*Community agreements are created as a way to establish a mutual understanding or make a set of expectations for all members of a community to abide by. They can be based on many things, such as how to support each community member and how to make everyone feel included. Please see What is a Community Agreement? blog post before starting this project.

colorpg1.jpg

Instructions:
1. Start with a coloring book and choose your favorite page, or find an online coloring page that you can print or draw your own design.

colorpg2.jpg

2. Add some color.

colorpg4.jpg

3. Add values. Have everyone add different values they believe are important for being in a community.

colorpg5.jpg

Vision-Blocked Polygon

Discipline: Team Building
Age Range: All ages
Estimated Time: 20-30 minutes
What you need: At least three or more people our choice of rope, string or yarn, approximately 20-30 feet in length; vision blockers (i.e., bandana, scarf, beanie, t-shirt, pillowcase, headband, or a hoodie worn backward)

vision1.jpg

Instructions:
You and your team are going to work together to use the rope in front of you to create a shape. The catch is that you will be vision-blocked while you do it!

  1. Have each member of your team pick a spot on the rope and grab onto the rope with hands out in front of them like a set of handlebars on a bicycle (palms face down, hands out in front on the rope).

  2. Once each team member has grabbed onto the rope and put on vision blockers, decide on which shape you would like to make. You can make any shape that you want, but here are some examples to get you started:

    Easiest: circle, square, triangle
    Easier: banana, ice cream cone, tree, hot sauce bottle
    Medium: the letter “Y,” shape of Nevada or California, Pac-Man
    Harder: star, lightning, heart, tea kettle
    Hardest: sunglasses, human body outline, a hand

  3. Once you have begun, there is one important rule: You may not take your hands off of the rope! You may slide your hands up and down the rope, but if you bump into someone you cannot go around them.

  4. During the activity, you will have to communicate with your team members to try to create the shape. Once you feel good about your shape, lower the rope to the ground. Once you have done this you can take your vision blockers off to see how you did!

vision2.jpg
vision3.jpg

Debrief Questions:

  1. How did it feel to be vision-blocked?

  2. What was your plan for this activity? How did you come up with that plan?

  3. What did/didn’t you enjoy about the activity and why?

  4. How did you ensure that everyone knew what was happening?

  5. Did you adapt your approach to the activity at any point? How did you adapt?


Helpful Hints: Start with a less challenging shape and once it is complete, talk about it as a team afterward. This will give your team a chance to talk about what went well, and make an improved plan for the next shape!

With some of the more challenging shapes, you may not get it perfect. Our team took 30+ minutes trying to get into the shape of a star before we decided as a group it was the best we could do.

New Words:

Polygon: Any two-dimensional shape formed with straight lines. Triangles, quadrilaterals, pentagons, and hexagons are all examples of polygons. The name tells you how many sides the shape has.

Mystery Object

Discipline: Team Building
Age Range: All ages
Estimated Time: 10 minutes
What you need: At least two people, vision blockers (i.e., bandana, scarf, beanie)

MysteryObjectimage1.jpg

Instructions:
This activity will require you to trust a partner (or two) to accomplish tasks with limited senses. Before you begin, make sure that everyone involved is comfortable being vision blocked.

With Two People Available:

  1. Decide who would like to be vision-blocked first and who would like to give the directions first. Using a bandana or other materials, block the vision of the designated person.

  2. The director will help spin the vision-blocked person around three times.

  3. The director will silently choose a mystery object somewhere in the area, then begin directing the vision-blocked person towards it. (i.e., “Forward! Stop! Turn right! Crouch down! Pick it up!”) NOTE: The director may not touch the vision-blocked person. They must direct using only words.

  4. Once the object has been retrieved, the vision-blocked person must use touch, smell, and hearing to make observations and try to guess what the object is.

  5. Switch roles and repeat!

maysteryobjectimage2.jpg
mysteryobject3.jpg

With Three People Available:

mysteryobject4.png
  1. Choose one person to be vision-blocked, one person to speak (speaker), and one person to act (actor). Using a bandana or other materials, block the vision of the designated person.

  2. The speaker must stand between their two partners, facing the actor and with their back toward the vision-blocked person.

  3. The actor will silently choose an object in the area, then use motions to act out directions for the vision-blocked person to find that object.

  4. The speaker will translate the actor’s motions into words, and the vision-blocked person will follow their directions.

  5. Once the object has been retrieved, the vision-blocked person must use touch, smell, and hearing to make observations and try to guess what the object is.

  6. Switch roles and repeat!


Debrief Questions:
As a team, try to reflect on and answer the following questions once you have finished the activity.

  1. How did it feel to be vision-blocked?

  2. How did it feel to give directions or act?

  3. What was most helpful to accomplish the common goal? Did you change anything?

  4. How can we apply what we learned in the future?


Helpful Hints: If you can, try to do this activity in an open space!

Make sure to direct the vision-blocked person so that they do not bump or trip into anything.

With three people, the actor and the speaker may want to practice their lefts and rights — it can get confusing!

New Words:

Observations: Something you see, hear, or notice using your five senses: sight, sound, touch, hearing, or smell.
Vision block: a piece of cloth tied around the head to cover someone’s eyes and prevent them from seeing anything.

Translation Services USA