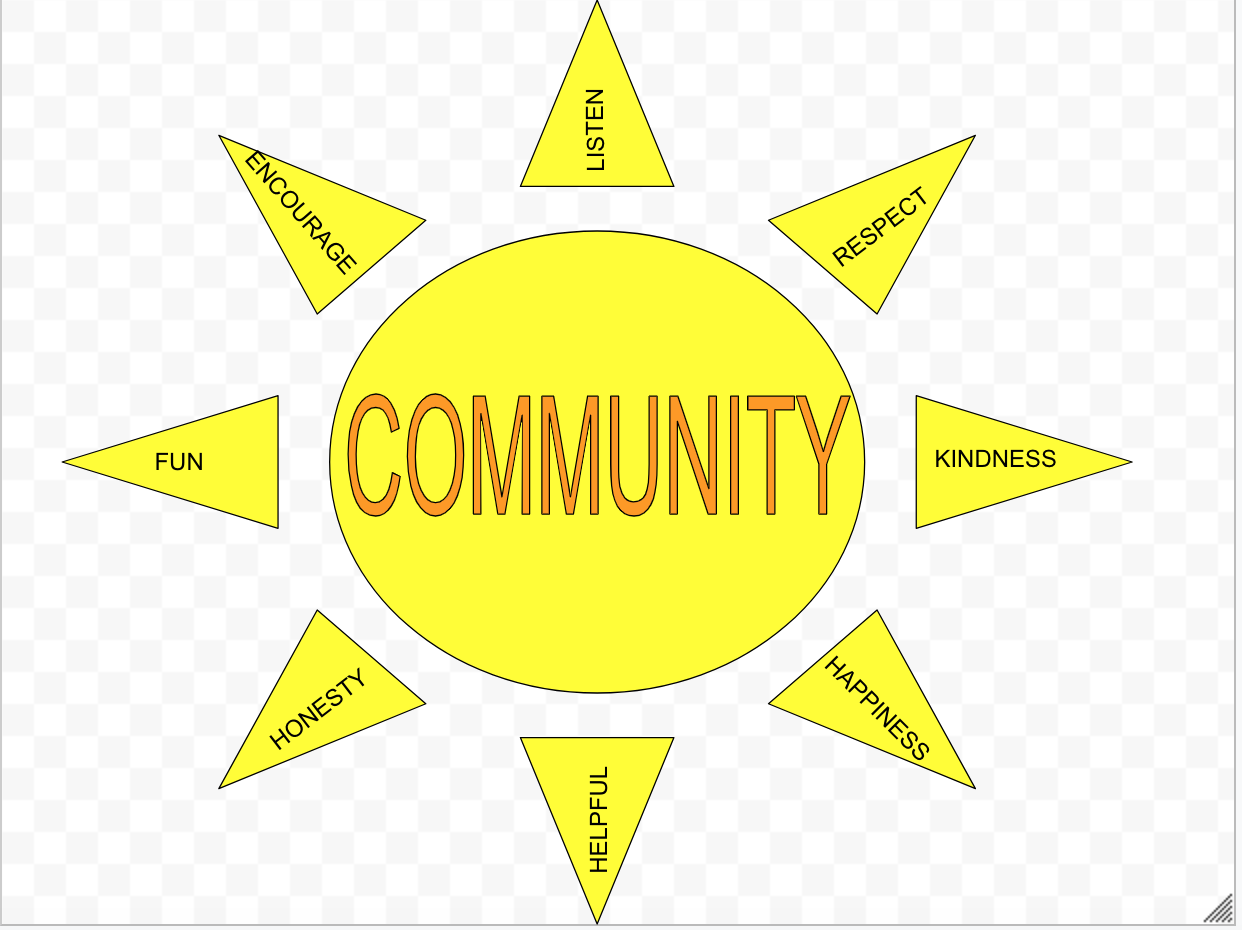
Discipline: Social Emotional Learning
Age Range: All ages
Estimated Time: At least 5 minutes to no limit
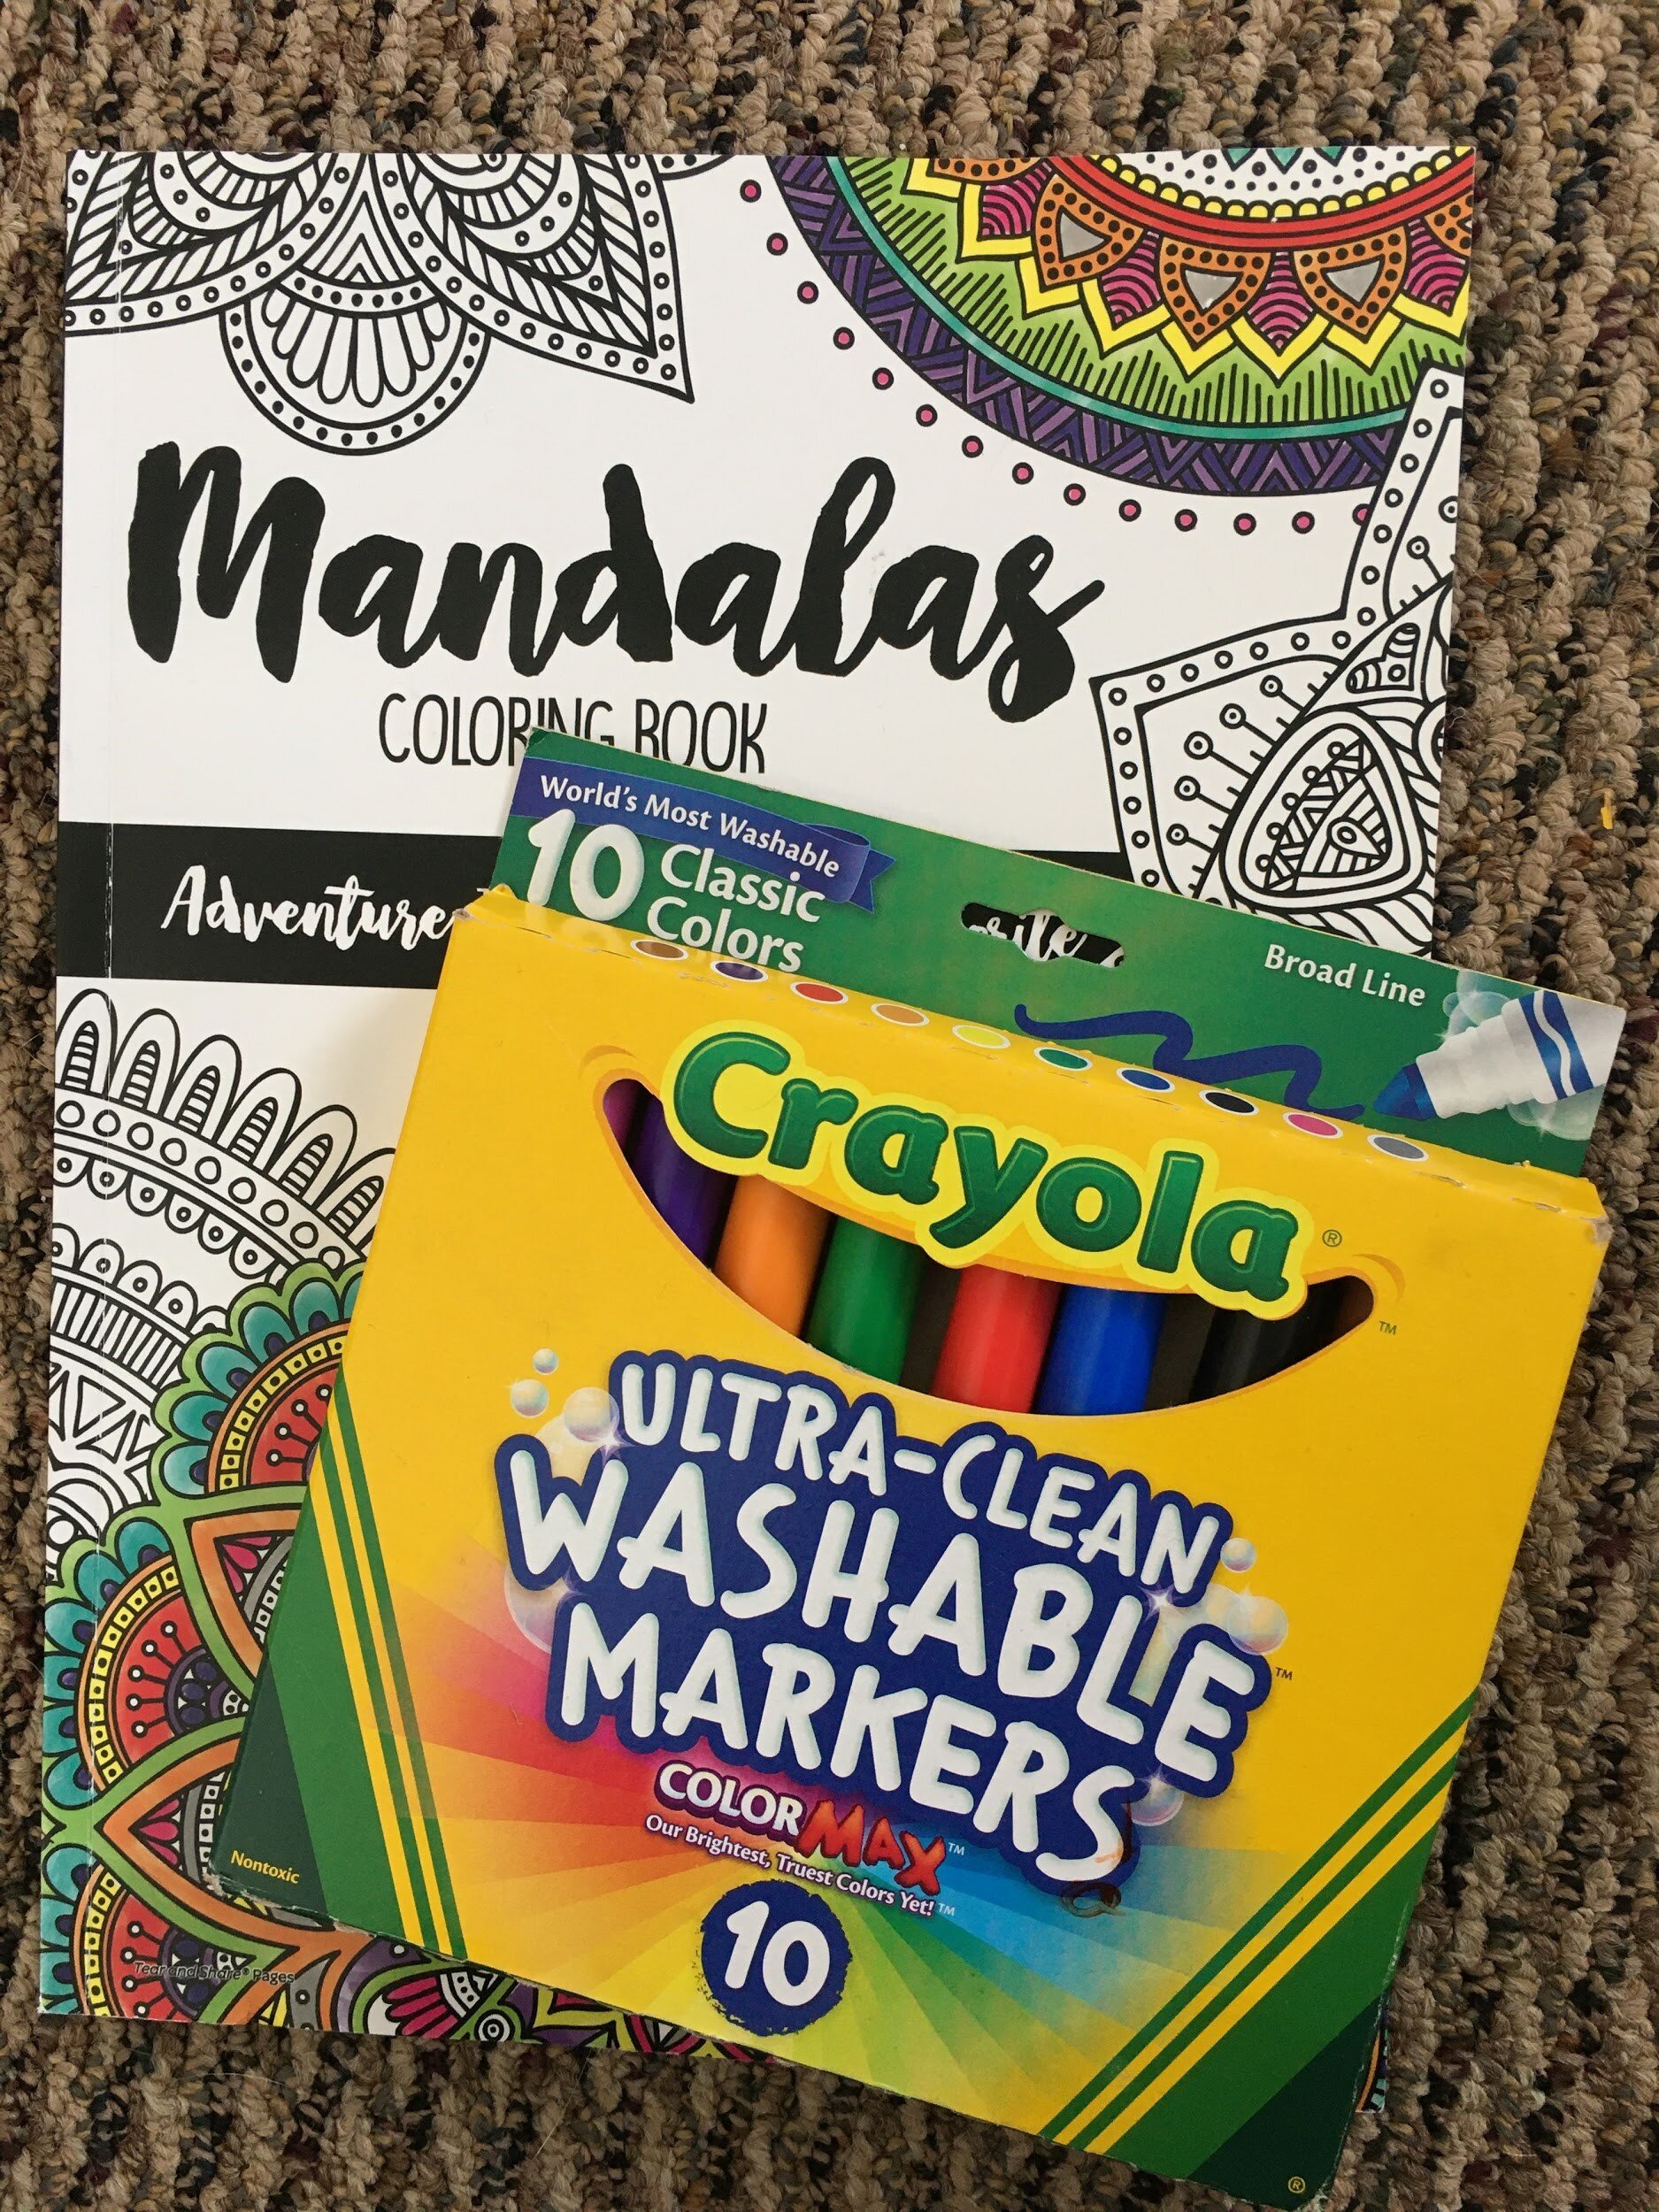
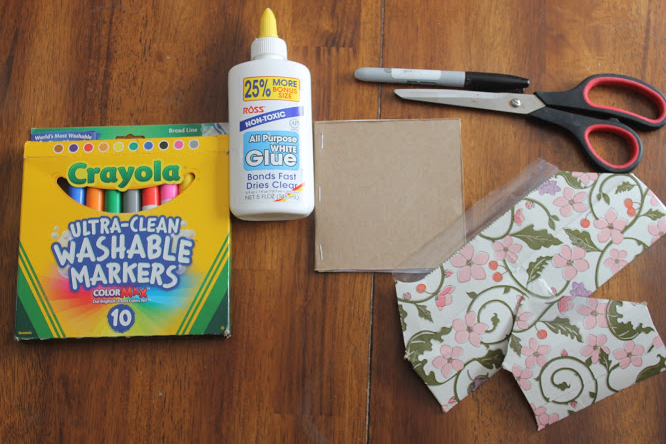
What You Need: Paper and pens

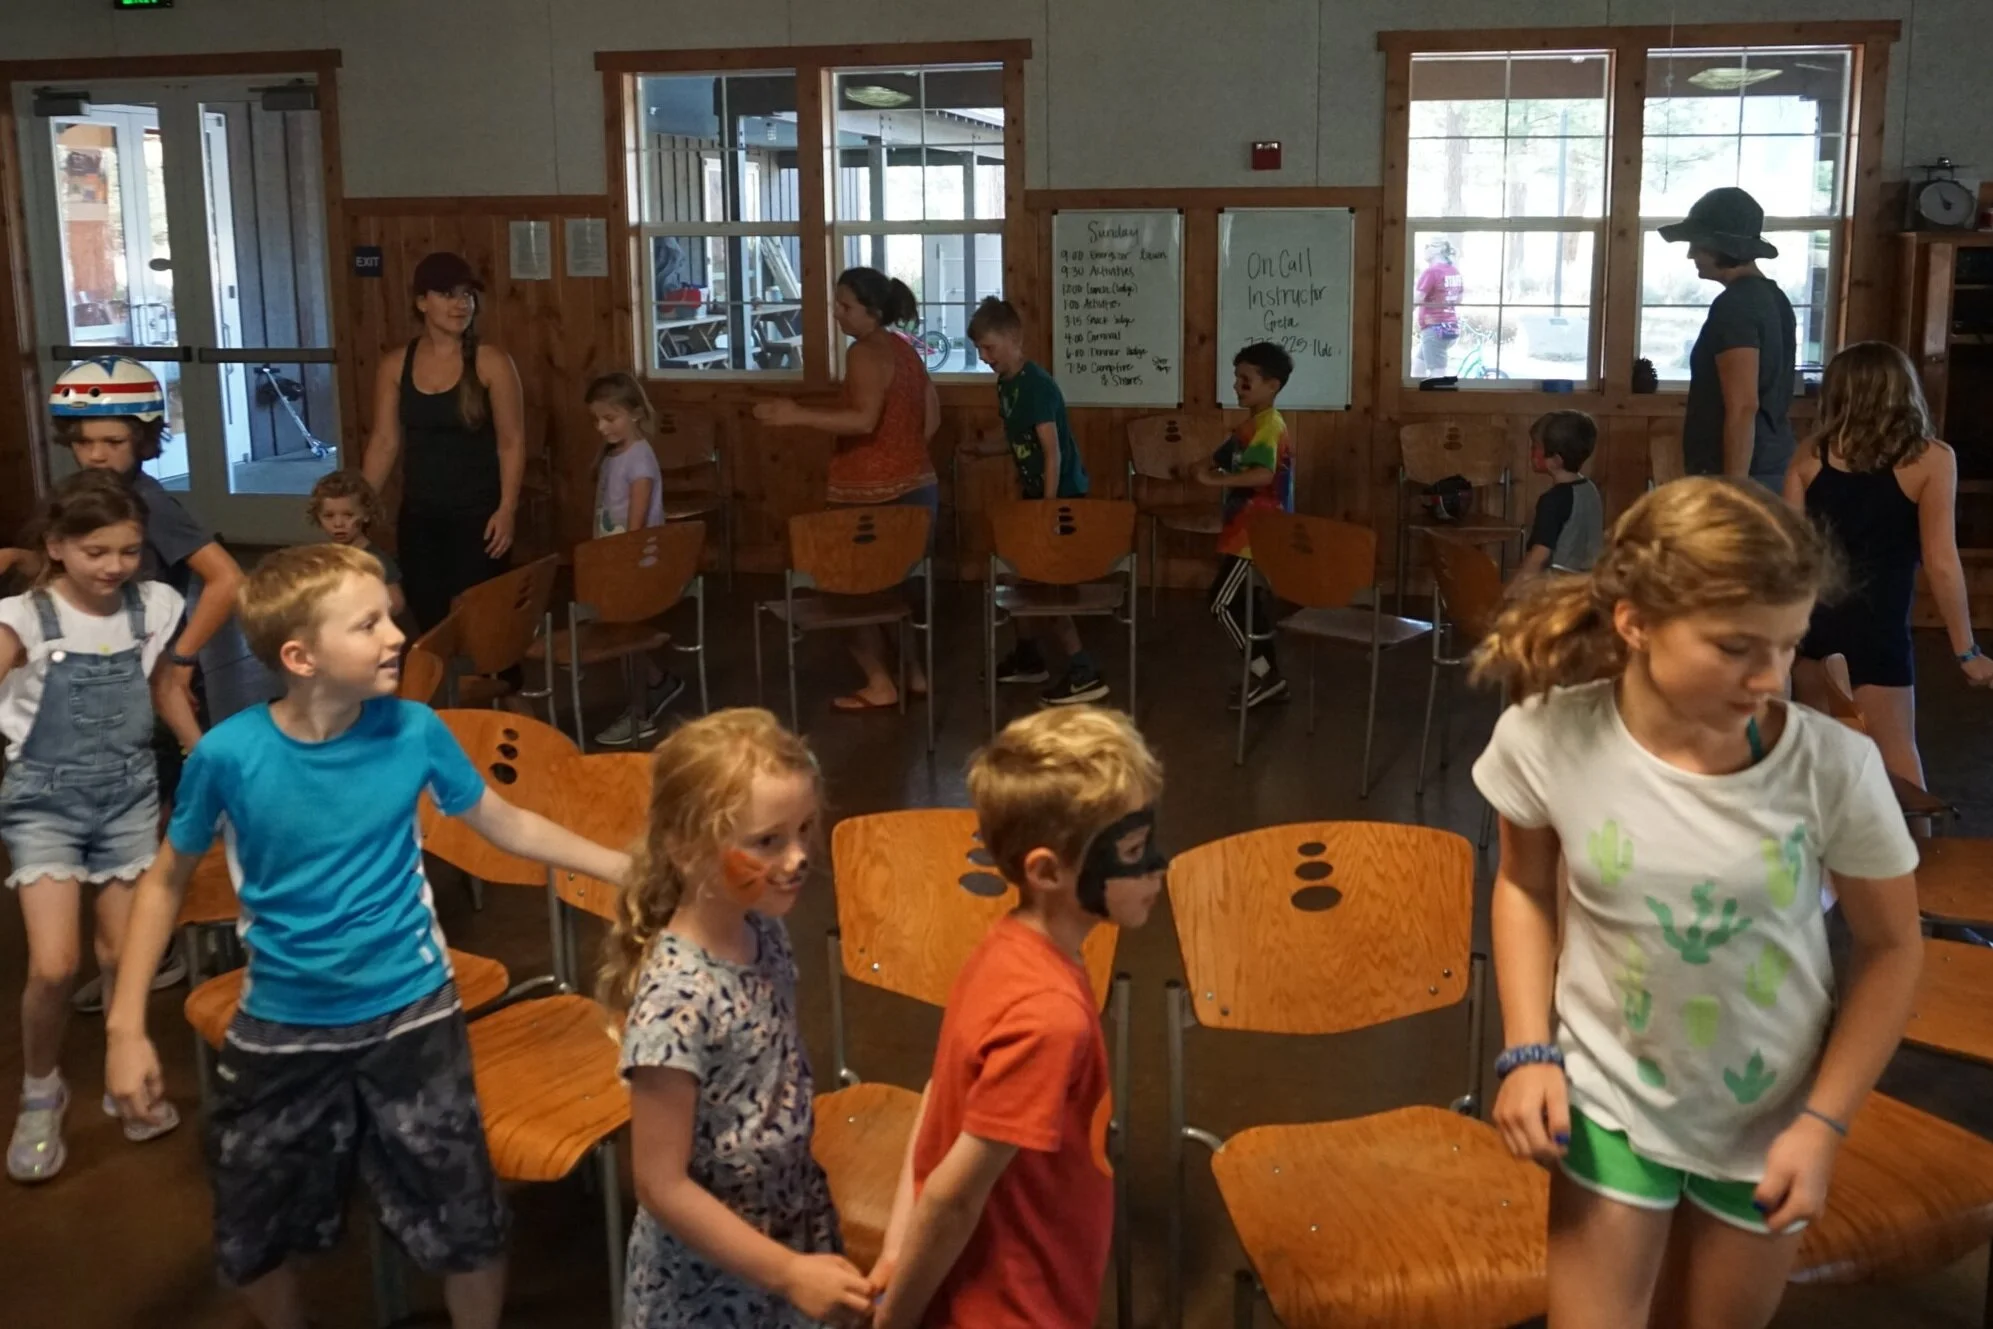
Introduction: If you’ve ever been to Sierra Nevada Journey’s Grizzly Creek Ranch, you know we love to play games! They’re a fun way for families to bond. Game of Things is a great way to get the whole family together for a night of laughs, all while getting to know each other a little better. This game is best played with at least four people, but there is no limit to the number of players.
Instructions: This game starts with one person creating a prompt. For example, what are three things you would bring with you if you had to live on an island for a week? All players, including the person who created the prompt, will then write their answer and their name on a small piece of paper. The person who created the prompt will then collect all the pieces of paper and read them to the whole group.
Once all answers have been read aloud, the person to the left of the reader will attempt to match one of the answers with the person who wrote it. If they are correct, they will hold on to the piece of paper and try to match another answer with a player. If they are incorrect, the next player in the circle will attempt to match an answer to a player. This will continue until all of the pieces of paper have been matched with who wrote them.
The only player who does not guess is the person who created the prompt and read the answers aloud. Once all of the answers have been matched with a player, a new player will then create a prompt and the process begins again.