COVID-19 Pandemic Highlights the Need for Science Literacy

IMG_E7494.jpg

While John Adams was defending the lives of British soldiers at the time, he could very well have said the same thing about science.

As COVID-19 continues to touch every part of life around the globe, it is vitally important that we understand the science of our new realities and have an informed citizenry. Never before in modern times have we seen such an overwhelming demonstration of the need for science literacy.

We are battling a deadly pandemic — and we will ultimately win this fight because of those working overtime in science, technology, engineering and math (STEM) based careers. Innovation through STEM is informing our responses to COVID-19. Some examples include: 3-D printing of personal protection equipment, distilleries pivoting to produce hand sanitizer, and research and development of more than 100 vaccine candidates.

We’ve also seen our regional, state and local leaders unite behind science to help stop the spread of infection and flatten the curve. Physical distancing, protective face coverings and quarantine are all ways to fight a deadly virus without a cure or vaccine. And we know this because of the scientists who identified the virus, understood its transmission, calculated its contagiousness, are researching treatments, and potentially, a ground-breaking vaccine. The science of this pandemic has already saved an immeasurable number of lives and will continue to save many more.

And when the curve drops and restrictions are lifted, the need for cutting-edge research and science education will be crucial in how we respond to future threats. Science-literate next generations could literally save us. And our planet. Investing today will pave the way for tomorrow’s triumphs.

Long before we were staying home because of COVID-19, The Discovery, Immunize Nevada and Sierra Nevada Journeys were cultivating science literacy in our community, collectively through our in-person, online, school and outdoor-based programs.

These are scary times. And with everything changing so fast, it can be tough to make sense of it all. But one thing remains certain: the need for science education. Science is crucial in fighting and controlling the spread of disease. That’s why The Discovery exists; we’re here to inspire the next generation of scientists, researchers and innovators who will help us overcome the challenges like what we’re facing today.

Keeping our distance from misinformation is easier said than done, and Immunize Nevada continues to be a trusted resource, guiding Nevadans with credible, evidence-based facts and resources. As rapidly as this virus has spread, misinformation has spread faster, causing the WHO to coin it an “infodemic.” We can all stop the spread by fact-checking, listening to credible experts and dispelling and debunking alternative theories, dangerous cures and myths. Try out your fact-checking skills with the News Literacy Project at newslit.org/coronavirus and if you have distance learners, their Checkology curriculum is now available for free.

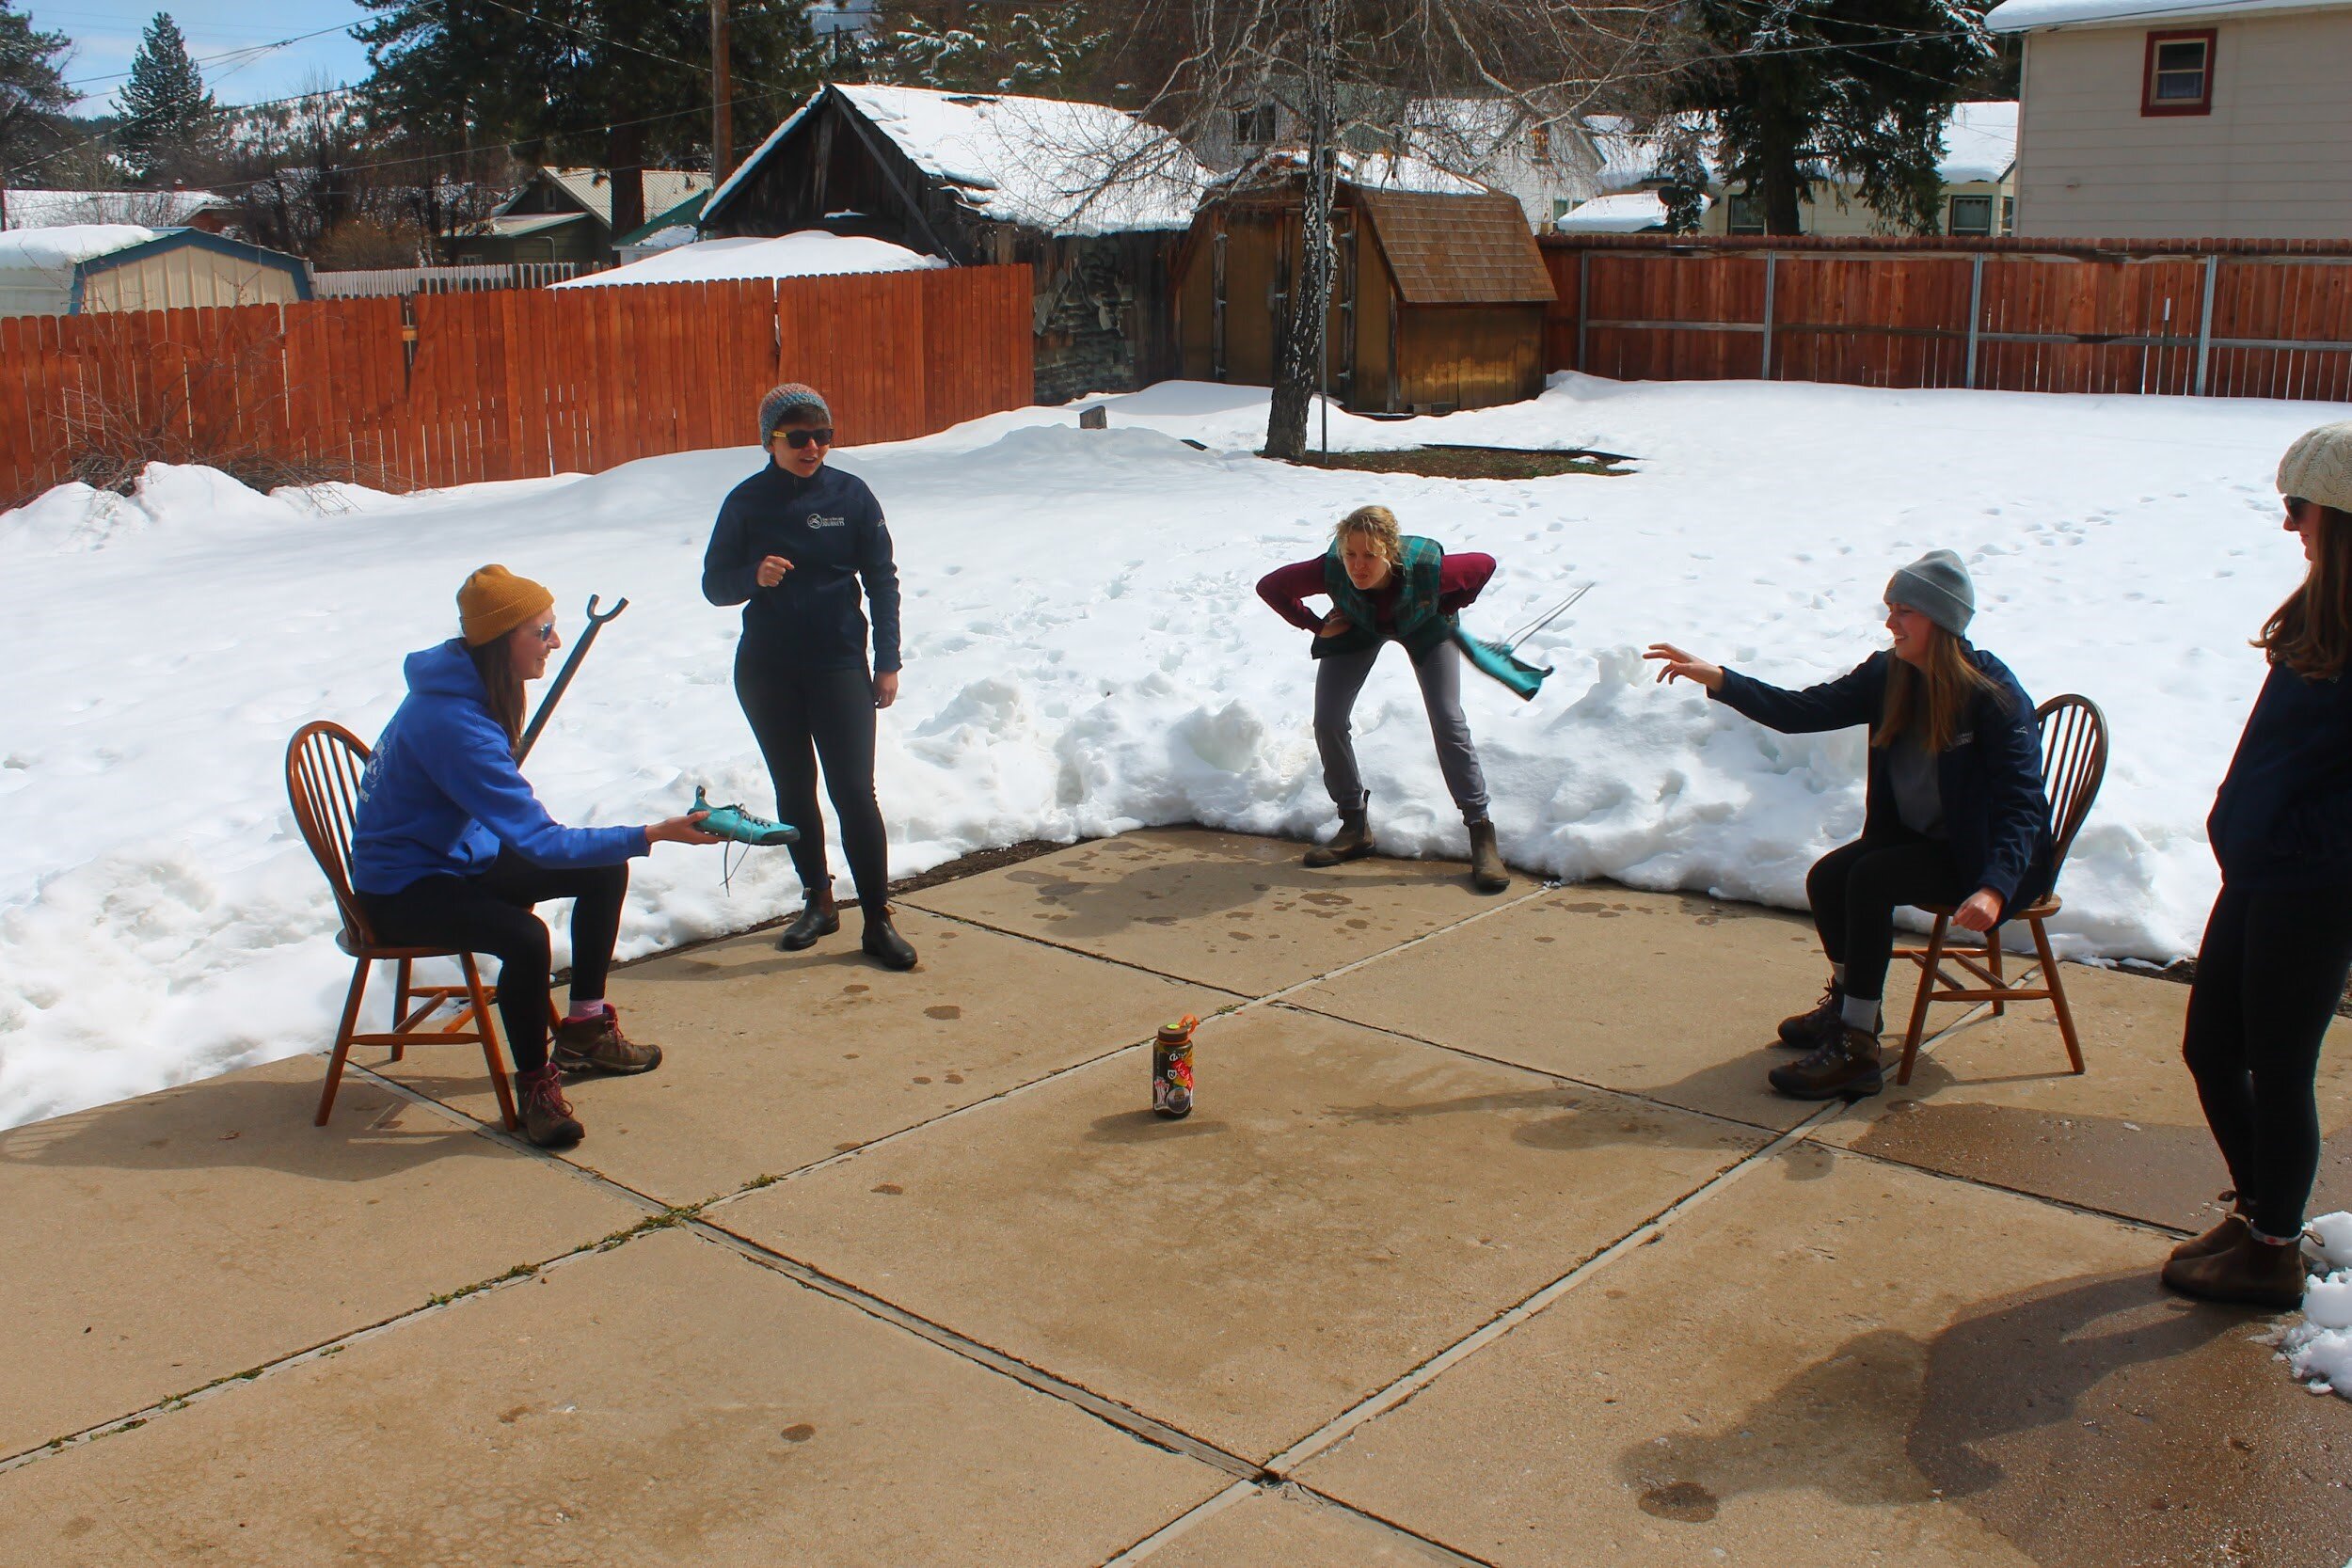
Sierra Nevada Journeys serves two-thirds of the elementary schools across northwest Nevada with STEM education annually. Our educators have worked to transition our in-person programs to support digital learning, and they are planning to serve 15,000 students this spring to support the region’s move to distance learning. In a time when our next generation will be relied upon to solve the next pandemic, taking a six-month leave of absence on science education is not an option.

Right now, we may not be able to serve our community the way you’re used to, but we’re still here and we are still serving you! Science matters and we can see it in the care that our loved ones receive, in the skill of our health care providers and in every aspect of our economic engines. Be a champion for science and in the meantime, stay safe and healthy, take care of each other, and never stop learning!


This opinion column, originally published in the Reno Gazette Journal on May 9, 2020, was submitted by Mat Sinclair, President/CEO of The Discovery; Heidi Parker, Executive Director of Immunize Nevada; and Eaton Dunkelberger, CEO of Sierra Nevada Journeys.


Think Like an Engineer Webinar - Part 1 & 2

Discipline: Engineering
Age Range:
7+
Estimated Time: 60 minutes for each webinar
What You Need: Part 1 - 2 pieces of paper; a pen or pencil; two cups of the same size; 15-20 pennies (preferred) or other small objects (paperclips, almonds, beads, etc.)
Part 2 - 8 pieces of paper; tape; two plastic bins or containers of the same height; small objects for weights (blocks, small plastic building bricks, coins, etc.); a pen or pencil

IMG_8363cropped.jpg

Engineers are problem solvers! In this interactive webinar, learn how engineers use math, science, and a special process to design solutions to real-world problems!

Each webinar will take you through the engineering design process in order to solve a problem. Listen to a story and use hands-on science to solve how to cross the river.


Think Like an Engineer Part 1 - 60 Minutes


Think Like an Engineer Part 2 - 60 Minutes

How to Make Dandelion Jelly

Discipline: Science & Nature
Age Range:
10+, with adult supervision
Estimated Time: 30 minutes
What You Need: access to the stove (with adult supervision); medium saucepan: stirring spoon; 3 to 4 jars with lids

shutterstock_586117580.jpg

Ingredients for Dandelion Jelly:
3 cups packed very fresh dandelion blossoms from unsprayed plants, about 4 ounces
4 cups of water
4 cups of sugar
1 box powdered pectin to reduce the amount of sugar
2 tablespoons bottled lemon juice
1 drop yellow food coloring, optional

Sierra Nevada Journeys Educator Shares Her Experience Making Dandelion Jelly

My name is Sarah, and I work at Sierra Journeys’ Grizzly Creek Ranch as an outdoor science instructor. I’ve been loving my time in the Sierra mountains, exploring new areas, trying new activities, and making new friends. The other day I was out in our yard and I saw a patch of dandelions, which reminded me that one of my friend’s back home had told me about something called dandelion jelly. So, I looked online and after finding a couple of different recipes, (Recipe 1 and Recipe 2) I decided to try my hand at making dandelion jelly.

I recruited my friend Nolan and we went on a dandelion hunting adventure around town. We started by picking the dandelions in our yard. Then, we explored our neighborhood looking for dandelions, and ultimately we ended up at the town park, where there was an abundance of dandelions (and some fuzzy bumblebees) — success! We picked as many as we thought we might need while being sure to leave some for the bees to get pollen and nectar.

Back home with our dandelions, it was time to cut off the flower parts. We wanted to get rid of the green parts because they would make the jelly too bitter. We used a full bowl of dandelion petals. We didn’t measure, but it seemed like we had enough, so we went for it. Next, we boiled water and poured 4 cups over the petals. We let it cool, then poured it into a container so we could put it in the fridge to steep overnight. This made dandelion tea, the base for the dandelion jelly.

We strained the dandelions out of the dandelion tea so that we were left with just the liquid. Squishing the flowers helped get all the liquid out. We were supposed to have 4 cups of liquid, but ours only turned out to be about 3 ½ cups, so we added an extra half cup of water to get to 4 cups. We heated the liquid over medium heat and added four cups of sugar. If I made this again, I think I might try to use a little less sugar; our end result tasted a little too sweet for my liking. We brought it to a boil and let it simmer for a few minutes before taking it off the heat. The recipe called for pectin, but our grocery store didn’t have any available, so we used gelatin instead. Pectin is typically used to make jam and jelly and creates a less solid product that gelatin, which is used to make geletin. I would really like to try this again sometime with pectin and see how it turns out differently. If you were using pectin, you would add it with the sugar, but gelatin needs to be added later, so we let the liquid cool before adding two packets of gelatin powder. Once we had stirred in the gelatin and it was fully dissolved, we filled three jars, put lids on, and stuck them in the fridge.

The next morning when we opened the jars, we had jelly. Well, the consistency was more like gelatin (likely because we had to use gelatin instead of pectin), but it still tasted good and that’s what matters. I’m looking forward to trying this again and making some adjustments to the recipe.

Are there any edible plants like dandelions in your area? See if you can find any interesting recipes using the plants in your neighborhood.


Sources:

Homestead Acres. 2020. How To Make Dandelion Jelly. [online] Available at: <https://www.homestead-acres.com/how-to-make-dandelion-jelly/> [Accessed 1 May 2020].

Serena Ball, R., 2020. [online] Teaspoonofspice.com. Available at: <https://teaspoonofspice.com/make-dandelion-jelly/> [Accessed 1 May 2020].

Bird Feeder Craft

Discipline: Nature Craft
Age Range:
all ages
Estimated Time: 15 minutes plus observation time
What You Need: one apple, birdseed, yarn or string; peanut butter; knife (with adult supervision); writing utensil; paper or printer (optional)

birdfeederphoto1.png

When the weather changes seasons from colder weather to the sunny skies of spring, many birds are building nests and preparing to have their young. Spend time together as a family creating this bird feeder together! When the bird feeder is finished you can hang it up outside and watch all the birds that visit your yard.

birdfeederphoto2.jpg

Instructions:

birdfeederphoto3.jpg
birdfeederphoto4.jpg
  1. With a parent’s help or permission, carefully use a knife to cut horizontal slices of an apple. They should be around a ½ inch thick.

  2. Use a pen or pencil to poke a hole near the top edge of each apple slice. Be sure not to poke too close to the edge, or the apple may break!

  3. Spread peanut butter to cover both sides of each apple slice. If you are having trouble getting the peanut butter to stick, consider dabbing the sides of the apple slice with a paper towel to dry it off before spreading the peanut butter.

  4. Cover the peanut butter apple in birdseed! Turning over both sides of the slice in a bowl of birdseed works great for this part of the activity.

  5. Cut off around 1ft of yarn and thread it through the hole you made in the top of your apple. If it is tricky to find your original hole, just poke a new one! Then, tie off the yarn with an overhand knot.

  6. Hang your bird feeder wherever you’d like! Trees and hooks near windows are great for observing birds from your own home.

  7. If your bird feeder runs out of seed, or falls off of its yarn, feel free to repeat this process and make as many bird feeders as you would like.

birdfeederphoto5.jpg

Spend some time each day watching your new bird feeder to see what types of birds visit. It might take a few days for the birds to find your feeder, so don’t worry if you don’t have any visits the first day.


birdfeederphoto6.jpg

Helpful Hints
If you’d like, you can complete this craft using a pinecone instead of apple slices! Tie a string around the top portion of the cone and then smear peanut butter all over the scales of the pinecone. Sprinkle seeds over the cone so that they stick to the peanut butter. Discuss which method might attract more birds and why.


Reflection Questions

  1. What do you notice about the birds that visit your feeder?

  2. Are they large? Small?

  3. Do they have any specific colors or patterns that are obvious?

Download the Making Observation Activity Page to record your findings or write them down in a notebook to help keep track of your observations


A Resource to Identify the Birds You Observe

This website is an excellent resource for identifying and learning about the birds that live near you


The Scientific Method by Making Pancakes (Video)

Discipline: Science & Nature
Age Range:
10+, with adult supervision
Estimated Time: 30 minutes
What You Need: Pancake mix (ingredients per the directions on the pancake mix package: milk or water and egg), a fying pan and stovetop

pancake3.JPG

Use the scientific method to find the ratio of pancake mix to water that makes the fluffiest pancakes, or “pan clocks.” Follow along with Krissy and Lauren as they make observations; ask a question; form a hypothesis; design an experiment; collect data; analyze the results; and draw a conclusion. You can use the same method to investigate any questions you have at home!

After viewing the 6.5-minute video, download the how-to guide for using The Scientific Method.

Meet a Tree (Video)

Discipline: Teambuilding, SEL, and Science & Nature
Age Range:
6+
Estimated Time: 30 minutes
What You Need: A partner, a bandana or blindfold, and an outdoor space with trees (alternatively, an indoor space and some rocks)

MeetaTreephoto.JPG

Practice your observational skills and connect with nature by meeting a tree! In this activity, partners will trade-off leading their partner to a tree blindfolded, “meeting” the tree using senses other than vision, and attempting to find their tree after removing their blindfold based on the observations they have made.

In this 5-minute video, you’ll also find an option to try this activity indoors using rocks. Afterwards, review and discuss the reflections questions below.

Reflection Questions:

  1. What senses or techniques did you use to find your tree or rock?

  2. What sense did you use the least?

  3. How can you use these skills to observe other things in the future?

Overcoming Psychological Barriers of Athletes After Life-Altering Accidents

Andy Stephens, School and Community Group Manager with Sierra Nevada Journeys, was recently featured in Why People Return to the Sport That Nearly Killed Them by Outside magazine. His master’s thesis focused on athletes who return to their sports after traumatic injuries. Andy of course, when asked about it, he said, “I’m really not one to seek out any attention.” The article is an inspiring piece that shows people who have suffered unimaginably doing activities they love and their journey to returning to their sport with new vigor and respect.

Andy studied the psychological process of the athletes to understand it and help others who may be going through a similar process.

Andy Stephens_cropped.jpg

“I was lucky enough to join with an adaptive winter sports nonprofit during my graduate work. It became quickly apparent to me that while we were working with athletes to physically recover, there as a missing piece to their recovery — the mental and identity components. I had my own traumatic medical emergency which really helped inform my understanding of the struggles adaptive athletes have in redefining their identity. It impossible to explain how exciting it is to see athletes lean into their new strengths and develop this whole new way of viewing their new reality,” said Andy.  

“I was pulled toward working with an organization like Sierra Nevada Journeys because I wanted to be a part of helping drive growth in youth on a larger scale,” he added. Sierra Nevada Journeys’ curriculum focuses not only on STEM but also on Social Emotional Learning (SEL). Some of the work that happens during Overnight Outdoor Learning at Grizzly Creek Ranch for fifth and sixth graders is geared toward team building and SEL. These aspects create a learning environment that focuses on science, critical thinking, outdoor stewardship, and SEL, which is a natural fit for Andy’s journey as a mentor for youth.

Bottle-to-Boot Game

bottlephoto1.jpg

Discipline: Teambuilding
Age Range:
7+
Estimated Time: 10+ minutes
What You Need: Two chairs, two shoes, a minimum of five people so round up your entire family; one water bottle (or something strong enough to have shoes thrown at it without damage)

Introduction: This is an active game and can be played outdoors or in a large indoor space such as a basement or garage area.

bottlephoto2.jpg

Instructions:
1. Place two chairs facing each other, about 7-to-10-feet apart. Place the water bottle in the center — between the two chairs — with one shoe on either side of the bottle.


bottlephoto3.jpg

2. Choose one person to be the “facilitator.” The facilitator’s job is to call out numbers to both teams once the game begins and make the official call on who wins the points on each round the game. They will also ensure that both teams are following the rules throughout the game. 

3. Separate everyone else into two equal teams and have each person count off, “one” through however many people are playing the game. Teams should stand on opposite sides facing each other, in the order of their numbers. For example, Team A: 1,2,3,4; Team B: 1,2,3,4.


4. The facilitator will yell out a single number and whoever the number pertains to will run to grab a shoe, run back to sit in a chair (either chair is open for the taking). Then, the two players try to knock the water bottle down remaining seated in their chair.

bottlephoto4.jpg
bottlephoto6.jpg

5. The first team to knock the water bottle down ears a point!

bottlephoto7.jpg
bottlephoto8.jpg

6. After a few rounds, the facilitator can combine players. The players must combine elbows before grabbing the shoe. One person must sit in the chair while someone kneels next to them. Facilitator announces, “Team A players 1, 2 and 3 and Team B plays 1, 2 and 3, grab the elbows of each other and work together to grab the water bottle, return to the chair and attempt to throw the shoe at the bottle, all while remaining locked together at the elbow.”

bottlephoto9.jpg
bottlephoto10.jpg

7. If people break their bond with their teammates, they must sit in the chair and wait five seconds until they can try again. The winner is the first team that scores ten points.


Rules:

  1. Your team can only have one shoe in your hand at a time. However, it does not matter which shoe.

  2. Your team must be sitting in a chair to throw the shoe at the water bottle. However, it does not matter which chair.

  3. Your team cannot block the other team from hitting the bottle.

  4. A round is not over until the water bottle is knocked over by one of the teams.

How to Empty an Egg Without Cracking It

Discipline: Physical Science
Age Range:
8+ (adult supervision required)
Estimated Time: 10 minutes for activity; 60 minutes of drying time for the eggs
What You Need: a clean bowl; needle or thumbtack; toothpick or straightened paperclip; clear tape or masking tape; raw eggs; a towel or paper towels; soap and water

snjegg.png

Eggs are one of nature’s most ingenious inventions! Chicken eggshells are tough yet delicate, and surprisingly, can stay whole even if you pierce them with a needle! If you’ve ever wished your decorated eggs aren’t cracked open and turned into deviled eggs, here’s a fun way to make them last longer.

eggpic2.png

Instructions:

  1. Take out eggs from the refrigerator and let them sit until they are room temperature.

  2. Place a small piece of tape on the top (the pointy thick end) of the egg and the bottom (the fatter end) of the egg.

  3. Using a needle, poke a hole in the top of the egg through the tape. Hold the egg over the bowl to catch any of the liquid that drips out; do the same with the bottom of the egg. Wiggle the needle around in the egg to make the hole in the bottom bigger than the hole on the top.

  4. Take the paperclip or toothpick and stick it in the hole in the bottom of the egg. Gently swirl the end of the paperclip inside the egg, being careful not to damage the hole. You can also do this with a needle.

  5. Flip the egg over and blow air into the top of the egg, letting the contents of the egg drip into the bowl from the bottom hole. Rinse the eggshell with warm soapy water. Be sure to clean the inside and outside of the egg. Leave your egg pointy side-up to drip dry.

Once the egg is completely dry, you can start decorating!

Eggs are one of nature’s most ingenious inventions! Chicken eggshells are tough yet delicate, and surprisingly, can stay whole even if you pierce them with a needle! If you’ve ever wished your decorated eggs aren’t cracked open and turned into deviled eggs, here’s a fun way to make them last longer.


Helpful Hints
Egg shells can be very delicate. Putting a small amount of tape in the areas you intend on poking the holes in will lessen the chances of the egg cracking. When blowing into the top of the egg, if you notice none of the liquid is coming out the bottom of the egg, stop and try to break up the yolk inside the egg. If you blow too hard into the egg while nothing is coming out the pressure may make the egg explode.


Reflection Questions

  1. Why did you swirl the paperclip inside the egg?

  2. What do you think would happen if you had not broken down the egg yolk before attempting to blow it out of the shell?


Habitat Scavenger Hunt

Discipline: Life Science
Age Range:
7-12
Estimated Time: 20 minutes
What You Need: Habitat Scavenger Hunt activity sheet and an area outdoors

33497535711_41fb8d4ccd_k.jpg

Instructions: This activity focuses on finding habitats in your area.

Ask: “Do you know what a habitat is?” 

A Habitat is the nature home of a plant or animal. 

Ask: “Did you know there are four parts of a habitat. Can you guess what they are? What four things do all animals or plants, need to survive?”

The four parts of a habitat are food, water, shelter, and space.

Ask: “Do you think there could be habitats outside?”

Go outside with your Habitat Scavenger Hunt activity sheet and see if we can find all of the different parts of a habitat. Draw or write down all of the different examples you see in the appropriate box. You have a green box on your activity sheet for the examples of food that you find, a blue box for the examples of water, a red box for space, and a black box for shelter.

Remember to use your observation skills to help you find examples of habitats. What do you feel, see, hear, or smell? What animals could use the things you found?


New Words
Observation:
Making an observation means to learn and notice more about the world around us using our five senses.
Habitat: the four things an organism needs to survive; food, water, shelter, and space.  

Helpful Hints
Adults, if you are doing this activity with your child(ren), ask them the questions and have a discussion before looking for the parts of a habitat.

Translation Services USA